Pulumi Automation API - Static Websites as a RESTful API
Databases that work well with serverless applications in 2023

Lets get a little bit meta on this example. I am going to show you how to use a SvelteKit application with the Pulumi Automation API to create other static websites!
When to Use Pulumi Automation API
The Pulumi Automation API is a programmatic interface for running Pulumi programs without the Pulumi CLI. It allows you to embed Pulumi within your application code, making it easy to create custom experiences on top of Pulumi that are tailored to your use-case, domain, and team.
The Automation API is available in the Node, Python, Go, .NET, and Java SDKs. It provides a number of features that make it a powerful tool for building custom infrastructure automation solutions, including:
- Strongly typed: The Automation API is strongly typed, which means that you can be confident that your code will work as expected. This is in contrast to the Pulumi CLI, which is dynamically typed.
- Safe: The Automation API is safe, which means that it is difficult to make mistakes that could lead to infrastructure failures. This is because the Automation API uses a number of safeguards, such as type checking and validation, to prevent errors.
- Extensible: The Automation API is extensible, which means that you can customize it to meet your specific needs. This can be done by adding new commands, plugins, and other features.
The Automation API can be used for a variety of purposes, including:
- CI/CD integration: The Automation API can be used to integrate Pulumi with your CI/CD pipeline. This allows you to automate the deployment of your infrastructure to production.
- Integration testing: The Automation API can be used to write integration tests for your Pulumi programs. This helps to ensure that your infrastructure is working as expected.
- Multi-stage deployments: The Automation API can be used to support multi-stage deployments, such as blue-green deployments. This allows you to deploy new versions of your infrastructure without disrupting existing users.
- Deployments involving application code: The Automation API can be used to deploy infrastructure that is involved in the deployment of your application code. This can include things like database migrations and load balancers.
- Building higher level tools: The Automation API can be used to build higher level tools, such as custom CLIs over Pulumi. This can make it easier for developers to use Pulumi to manage their infrastructure.
If you are looking for a powerful tool for building custom infrastructure automation solutions, the Pulumi Automation API is a great option. It is available in a variety of languages and provides a number of features that make it a safe and extensible solution.
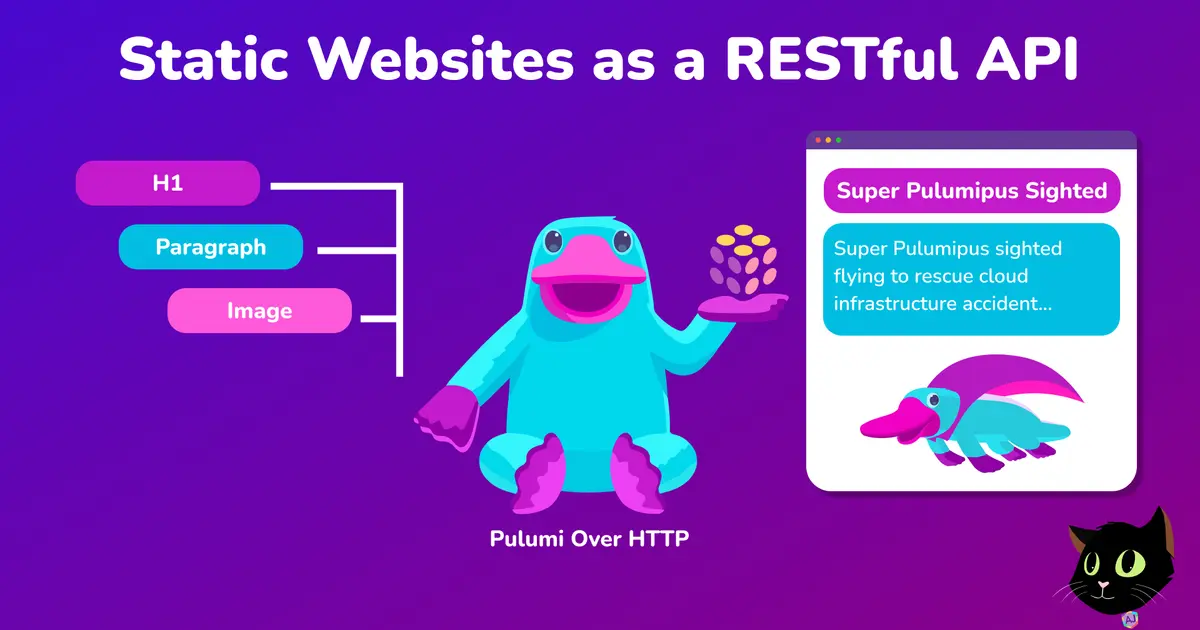
Pulumi Over Http
This example is meant to show how you can use Pulumi's Automation API to create static websites hosted on AWS. The example utilizes SvelteKit API's so that you can expose infrastructure as RESTful resources. All the infrastructure is defined in inline programs that are constructed and altered on the fly based on input parsed from user-specified POST bodies. Be sure to read through the handlers to see how Automation API detect structured error cases such as update conflicts (409), and missing stacks (404).
You will find all of the code needed inside of src/routes/api/stacks and src/routes/api/stacks/[id].
SvelteKit Example Steps
- First You enter content that is needed for the website you are creating, then click Create Site
- A Pulumi stack is created with a Pulumi program that adds an
index.htmlto a new bucket. - The stack has an output for
websiteUrlthat will show the new website.
Pre-Requirements needed to run the example
- A Pulumi CLI installation (v3.0.0 or later)
- The AWS CLI, with appropriate credentials. If you are on a Mac I would highly recommend using Brew's AWS CLI if this is a first time setup. The below setup is how you can quickly set your aws access (although this is not best practice).
Run example localhost
Clone example
Install necessary packages
Run Dev Environment
List stacks
If you have used this example in the past you will see a listing page appear, if not you will see a message "No Sites Found".
In the src/routes/+page.ts we are using a load function to get our stacks from an API that we created.
This is a GET http call that is calling our API found within src/routes/api/stacks/+server.ts.
This GET method calls our listHandler function within src/routes/api/stacks/pulumi.ts, which lists stacks within a project called pulumi_over_http.
Create Site
On the homepage add the below code to the input box replacing "Hello World!" and click the "Create Site" button.
This form can be found in src/lib/CreateSite.svelte and includes the onCreate function to call our API.
We have a new method inside of src/routes/api/stacks/+server.ts that handles this POST call and calls the createHandler function.
The createHandler function within src/routes/api/stacks/pulumi.ts, creates the new site within AWS.
A crucial part of this call is LocalWorkspace.createStack in which we pass createPulumiProgram. This program is what takes our input HTML, creates an S3 bucket, sets the correct permissions on the bucket, and creates the index.html file inside of that bucket, which returns the new websiteEndpoint.
When all of this finishes happening you will be forwarded to the stack page for your site.
View Stack
In the stack page view for your new site you will see the site url which will open the full website, along with an iframe view of that site which you just created.
In order to get the data for this stack, first capture the id in our Svelte load function at src/routes/[id]/+page.ts. You can do this by using the params object that is passed to the load.
We get the stacks information again from our API, in a new location src/routes/api/stacks/[id]/+server.ts that requires our id to be used in the typing for the params.
The GET function calls the getHandler within src/routes/api/stacks/[id]/pulumi.ts and as you can see below we get the stack id from params.id and assign it to stackName.
Delete Stack
Now that the stack is created, it can be deleted by clicking the button "Delete Stack". This will remove all of the associated resources within AWS and remove your website.
The Svelte component can be found at src/lib/DeleteStack.svelte and it contains the function onDelete.
Within the onDelete function you can see the fetch call to /api/stacks/${id} with the method DELETE. This API can be found at src/routes/api/stacks/[id]/+server.ts.
As you can see the DELETE function calls deleteHandler within src/routes/api/stacks/[id]/pulumi.ts. Once again using the Pulumi Automation API you can use the LocalWorkspace class to select the correct stack and then call the destroy and remove methods.
Stack Update
For bonus points I have left a PUT method in src/routes/api/stacks/[id]/+server.ts which calls theupdateHandler function in src/routes/api/stacks/[id]/pulumi.ts.
Try using the below code to wire up an update to the current stack for changing the website.
